Custom Authentication
Most external REST APIs require authenticated requests to verify sender identity and validate data access permissions. The platform allows you to build custom authentication workflows to manage both static keys and complex, automated token lifecycles (such as OAuth2 and JWT).
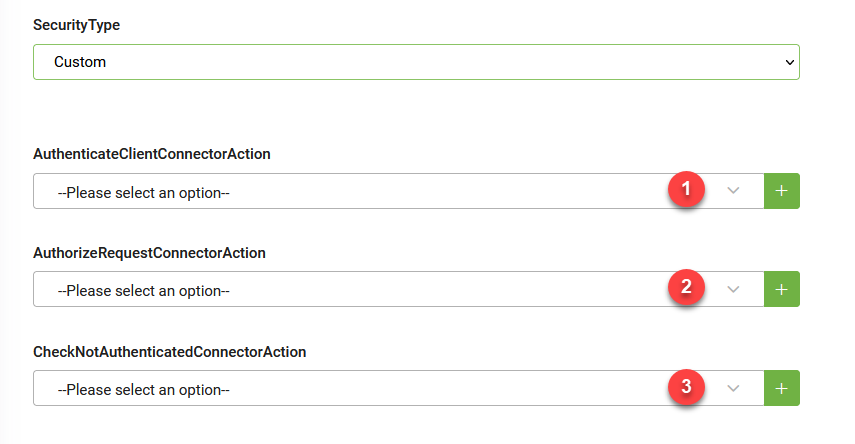
To implement a custom authentication workflow, configure a combination of up to three primary connector actions:
- Get the security context. Defines the login call used to fetch a temporary access token or refresh token.
- Define the authorization template for all API calls. Automatically adds credentials into the request header or payload body for every outbound integration call.
- Set responses when authentication is required. Detects unauthorized responses, such as an expired token, and triggers the re-authentication loop.
Identify the authentication pattern required by the target REST service to determine which configuration steps to complete:
| API authentication pattern | Description | Required configuration steps | Detailed guide |
|---|---|---|---|
| Static authentication | Uses a permanent, long-lived API key, token, or secret that does not expire. | Complete Step 2 only. (Skip steps 1 and 3) | Standard API Authentication |
| Dynamic authentication | Uses temporary tokens that expire and require an automated lifecycle loop to log in and refresh credentials. | Complete Steps 1, 2, and 3. | Advanced Dynamic Authentication |